lesson1-python 闪电入门
安装设置Anaconda(Python and
visual studio code
1.Python开发环境(Anaconda)
首选:Anaconda(安装包第三方库)
网址:www.anaconda.com
安装步骤:
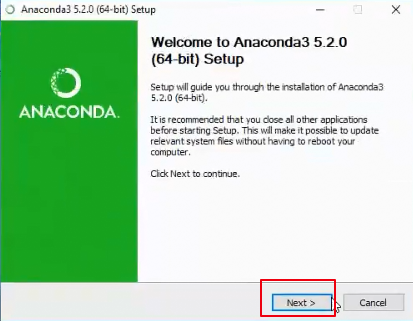
直接next下一步
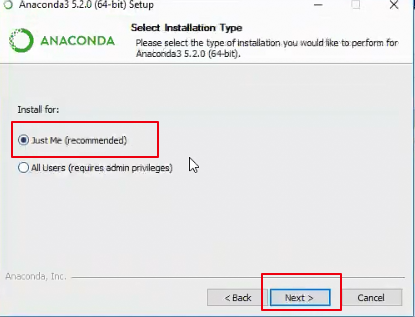
just me 勾选,直接下一步
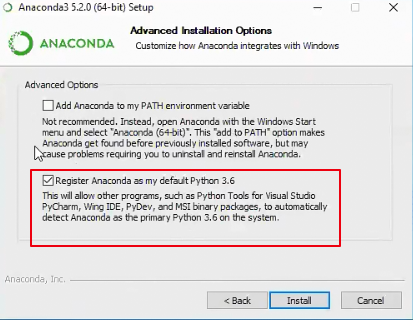
直接勾选红框内,否则IDE后面识别不到,得手动选择
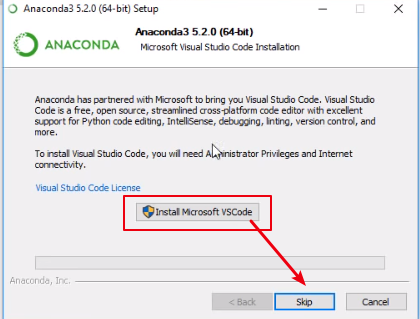
选择安装install ,Microsoft Vscode(这里不安装了)

库升级安装:
测试:Python回车
更新库:
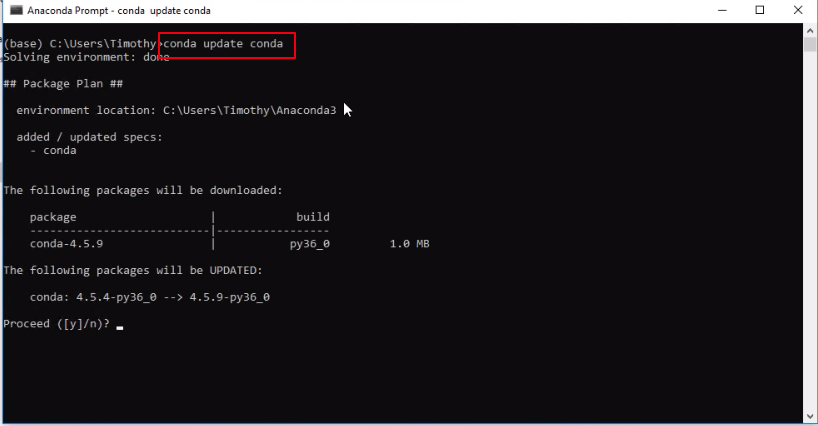
conda update conda(自己更新)yes回车
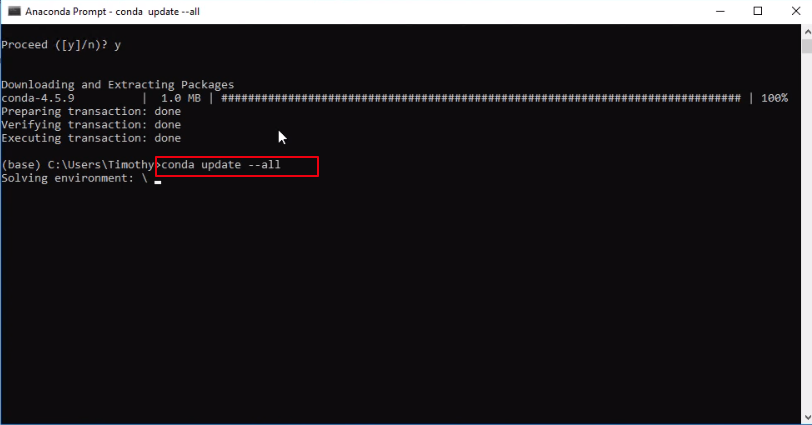
2.conda update--all(升级更新库)
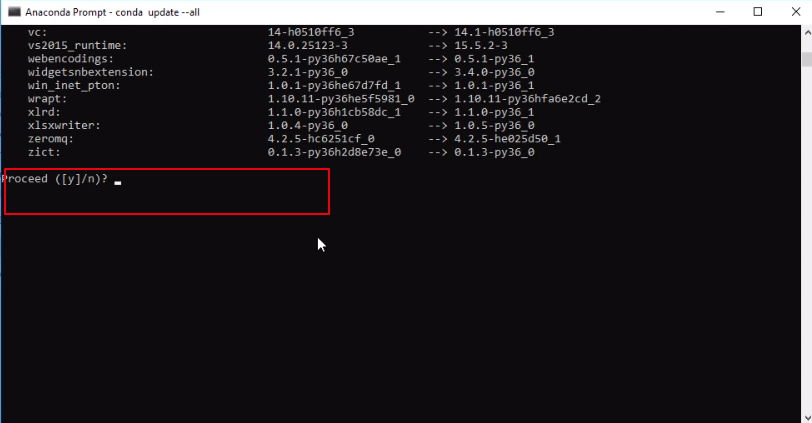
——yes回车
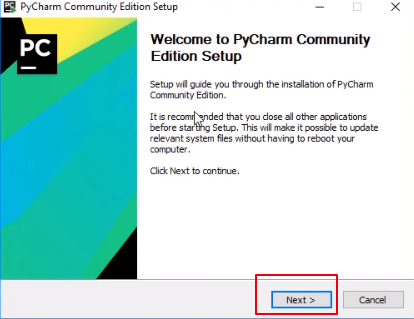
IDE:PY Charm(首选)
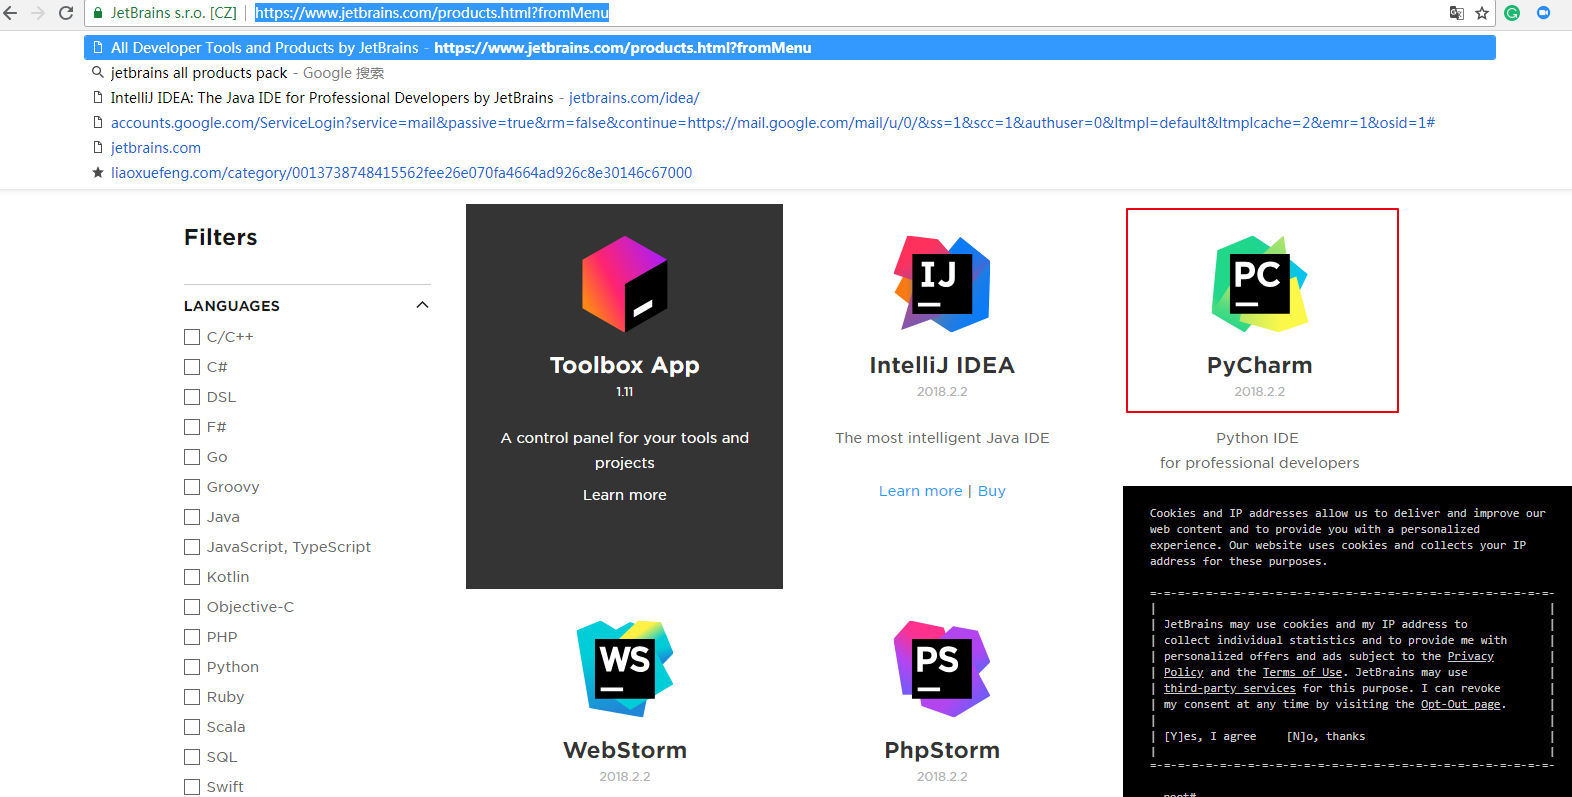
网址:https://www.jetbrains.com/products.html?fromMenu
安装:
默认安装
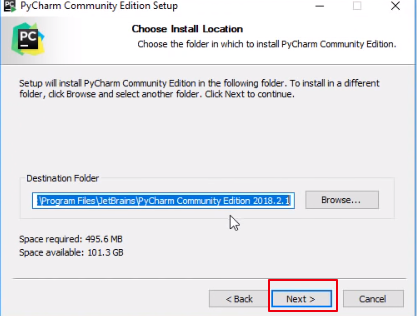
直接下一步

这些不选,直接下一步
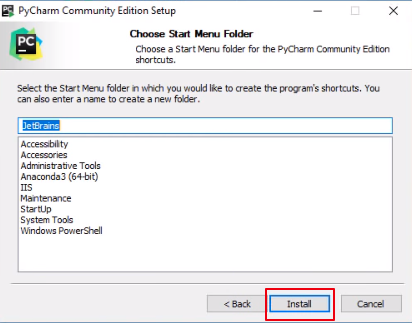
安装 install
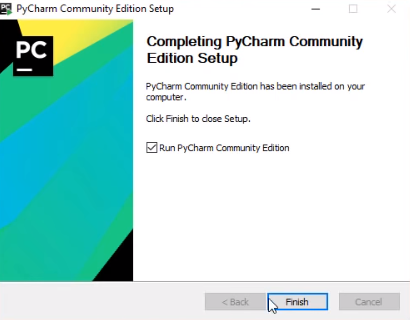
完成安装启动Pycharm
启动前的设置工作:
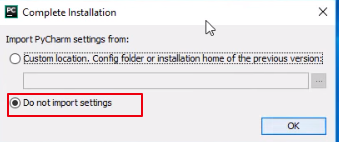
安装完成不导入以前版本的文件
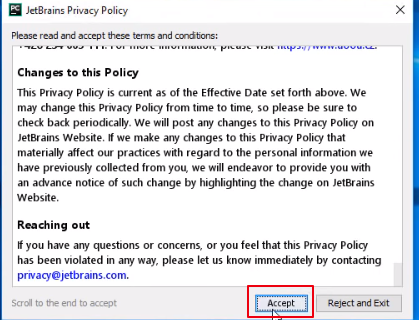
滚动到底直接Accept
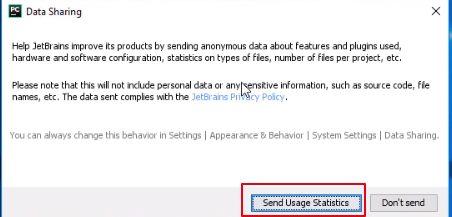
采集信息,完成开发环境
PYcharm设置:
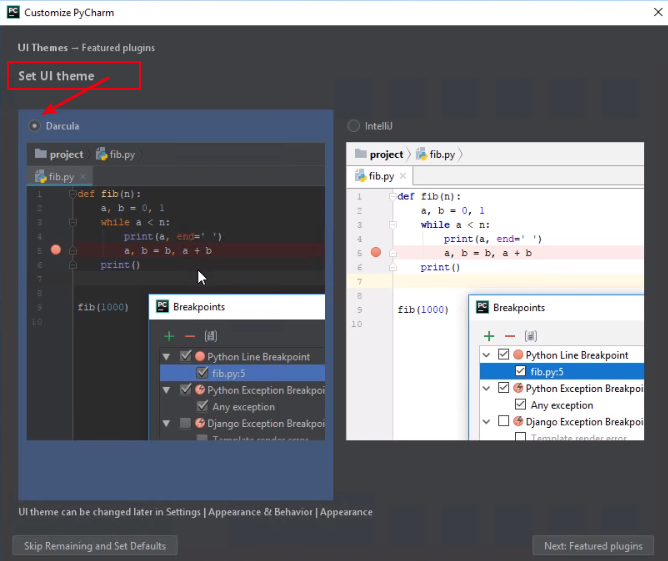
选择黑的UI界面设计,按需选择
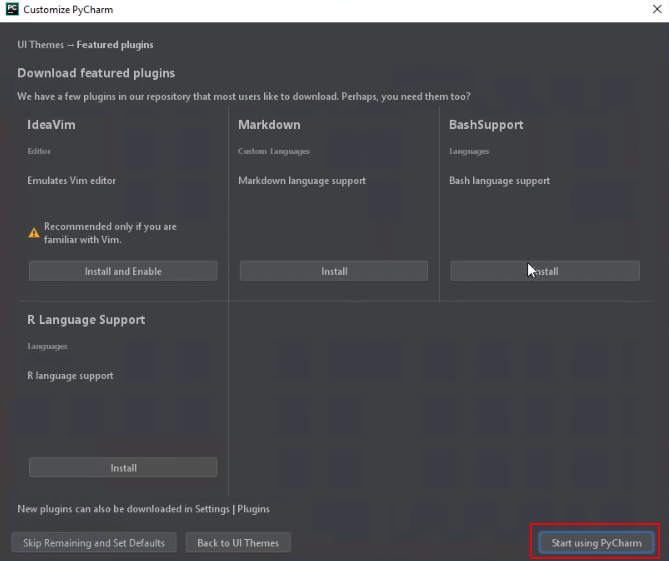
选择需要的包安装,这里不安装

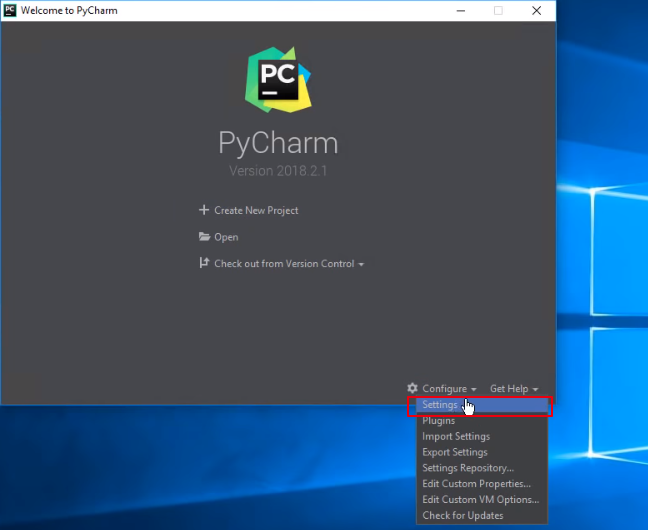
右下角configure-Setting
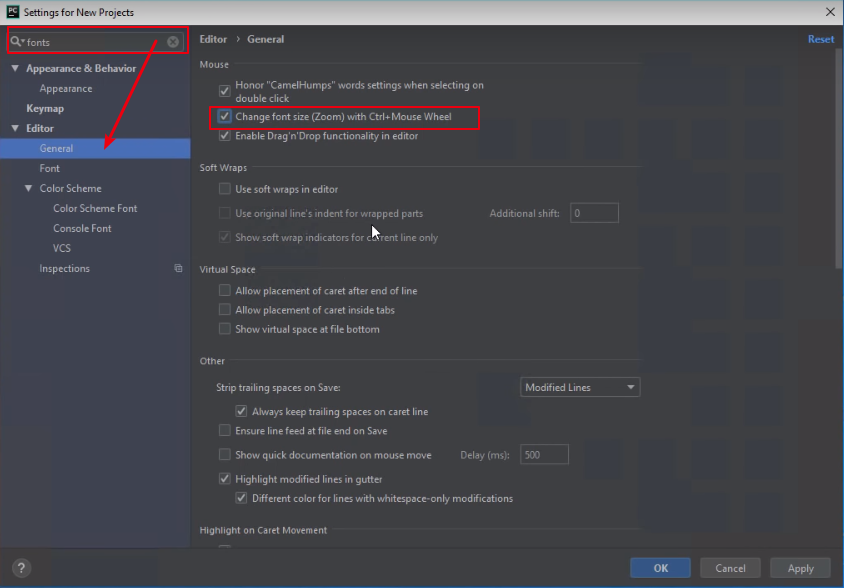
输入fonts-General勾选change font size(zoom)可ctal+滚轮放大缩小字体
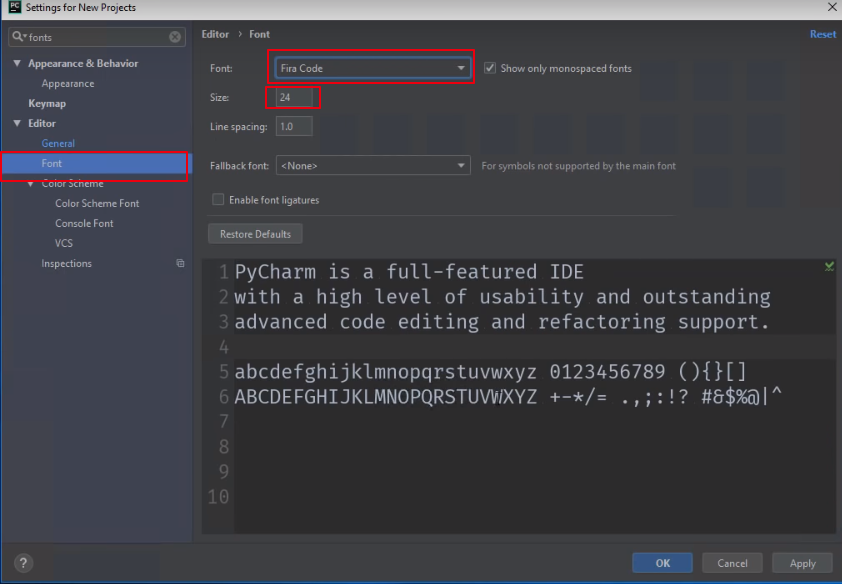
字体改为Fira Code,字号24
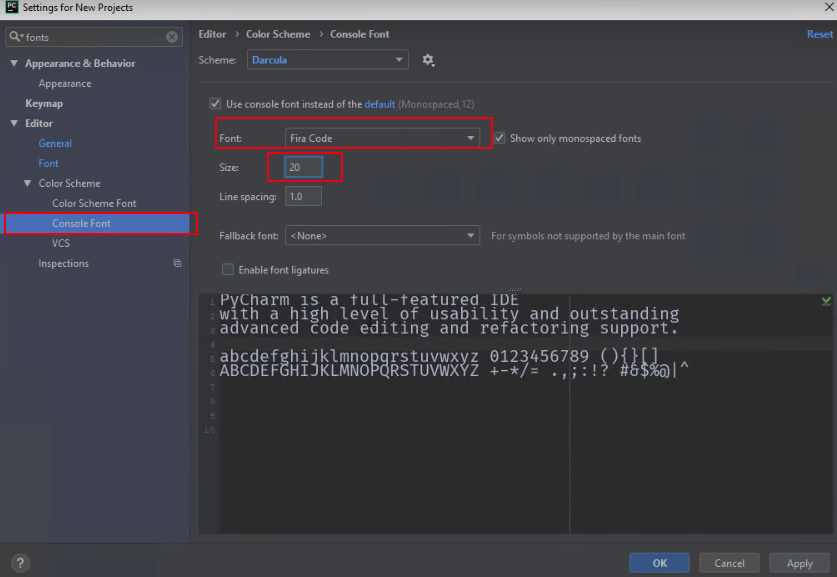
console Font,size:20,字体改为Fira Code
新建文件:
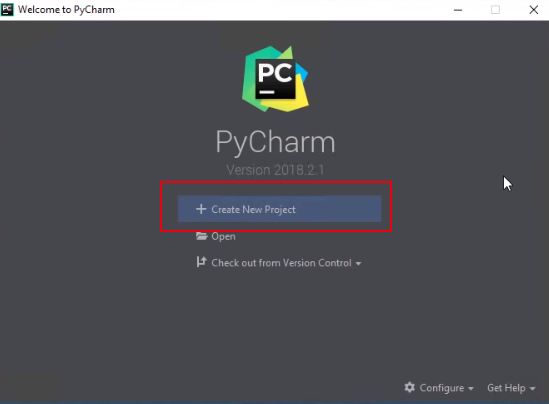
create New Project创建新项目
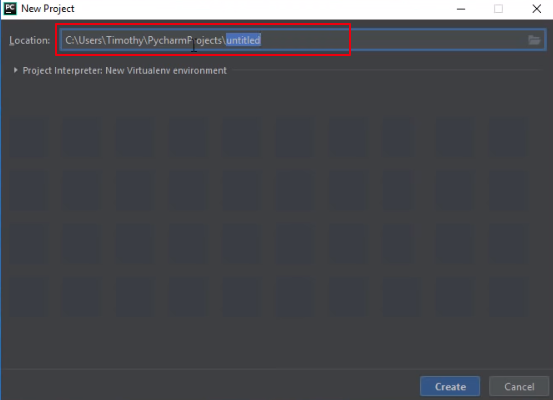
更改路径或者默认路径
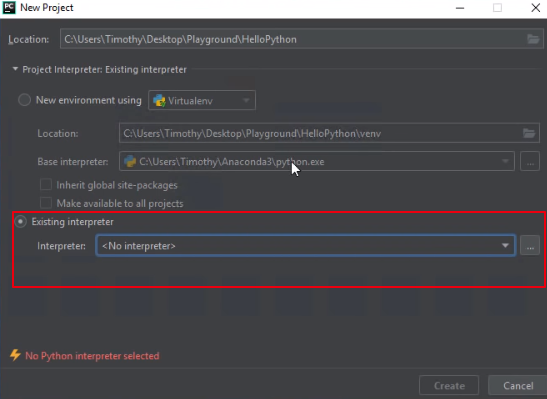
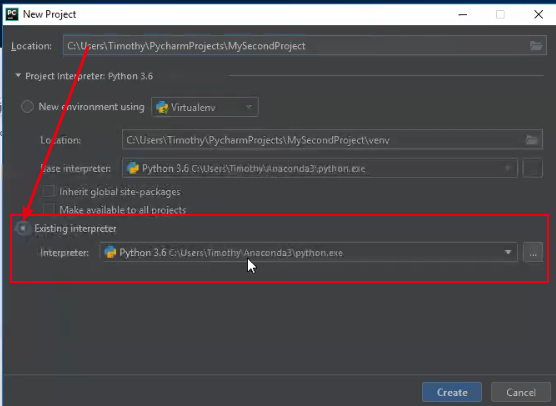
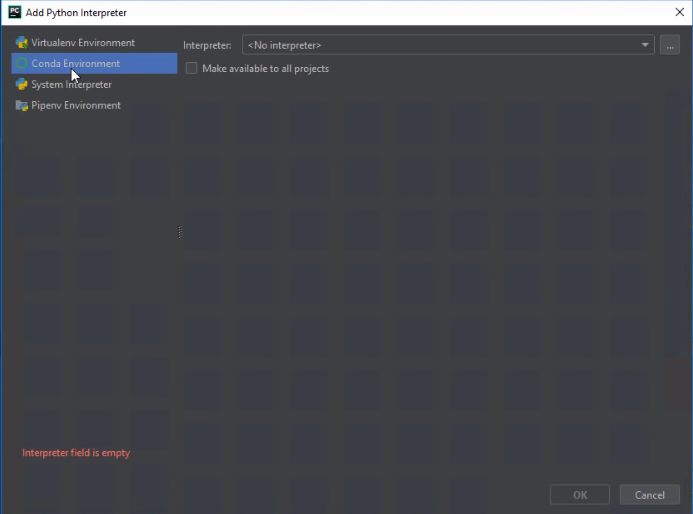
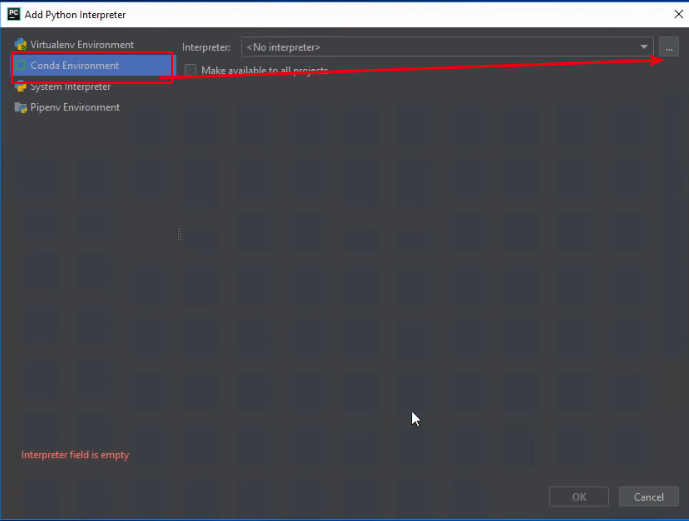
选择conda Environment(环境)
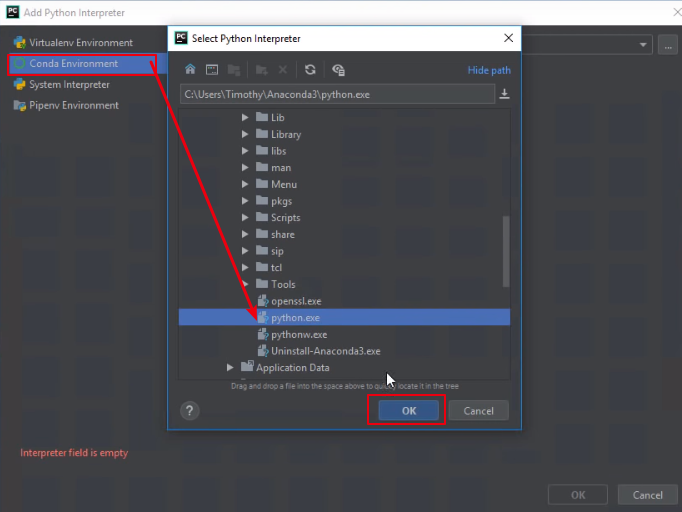
选择Python,exe默认C\user\Anaconda3\python.exe
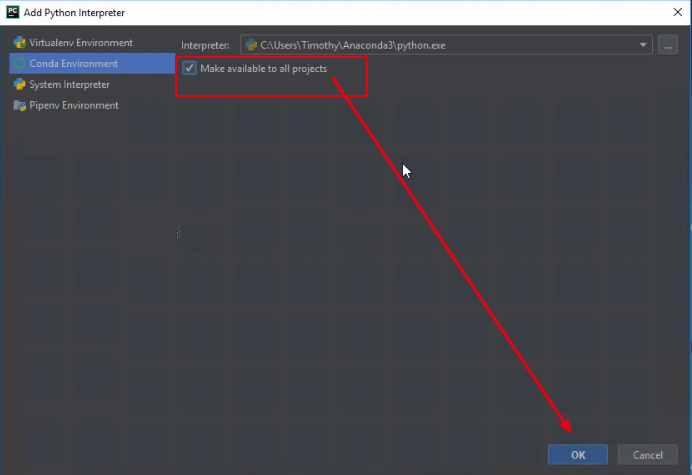
勾选make ....all projects
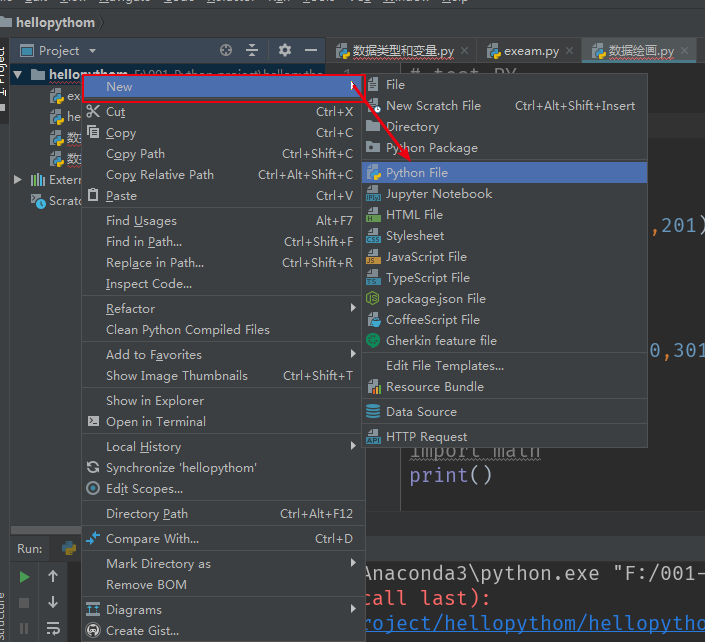
右键项目文件夹选择new-Python File创建Python文件
OK,完成上述的设置以后就可以开心的写代码了!!!!
下一个轻量级的visual studio code
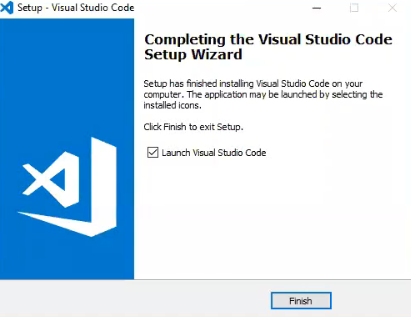
下载安装:
网址:https://visualstudio.microsoft.com/zh-hans/

安装细则:
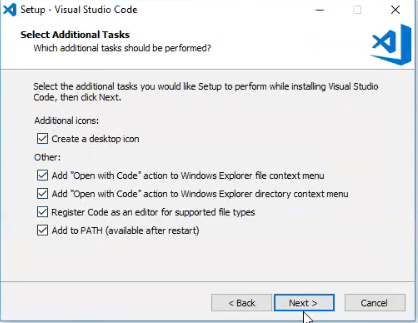
1.全勾选安装选项
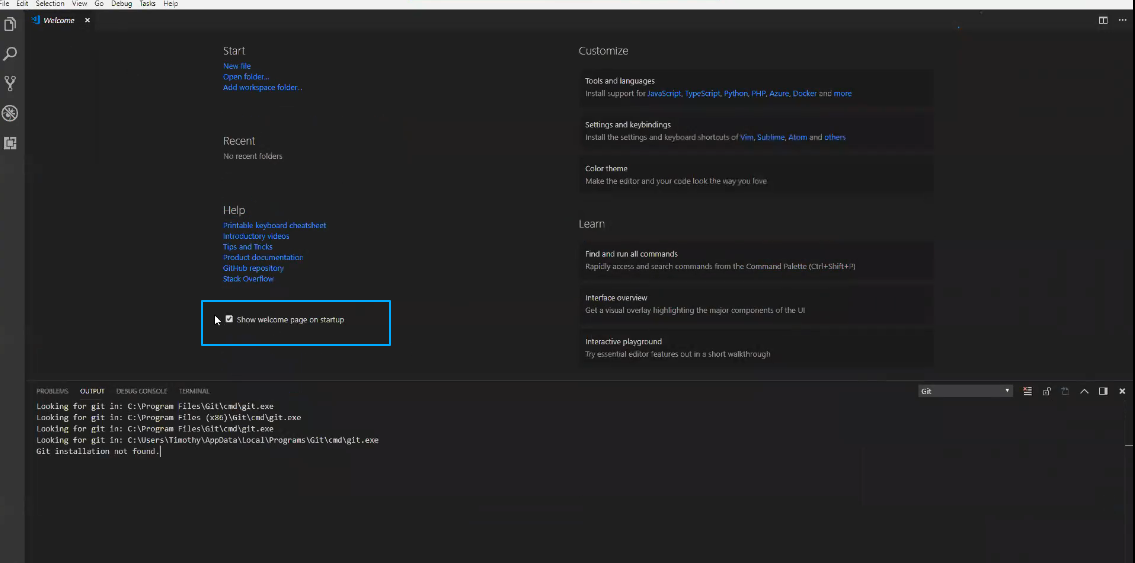
3.启动后勾掉欢迎界面
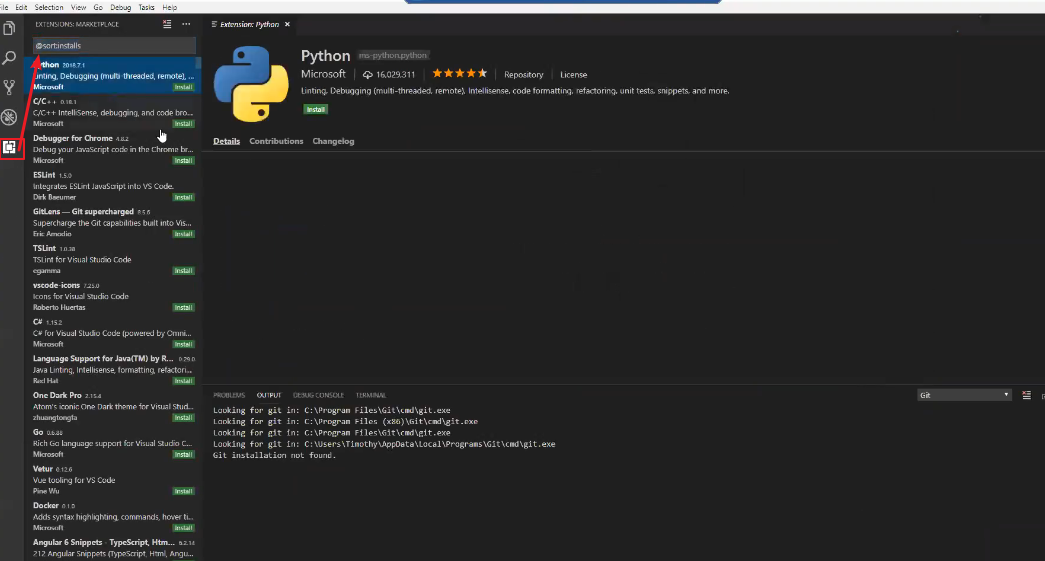
4.安装Python插件
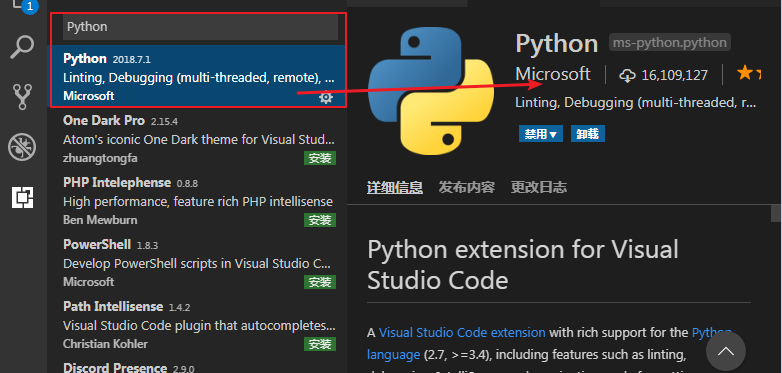
5.选择输入Python,找到Microsoft pythonan安装
运行设置:
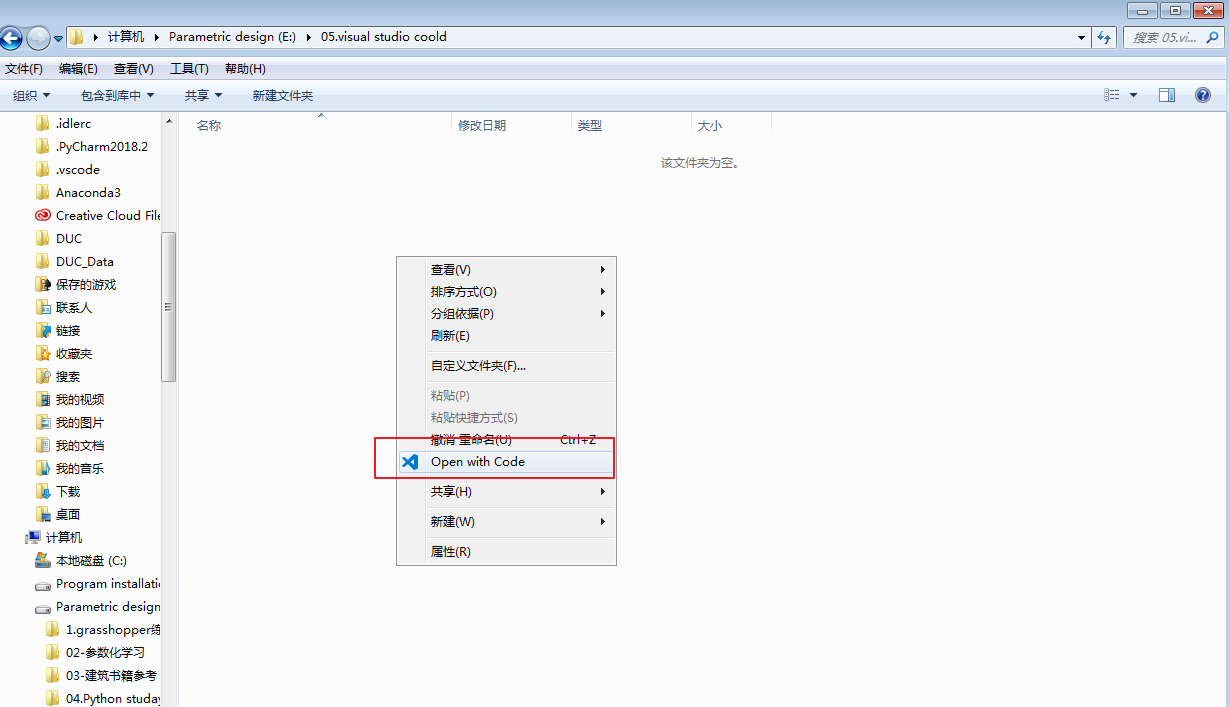
新建文件夹,右键open with code
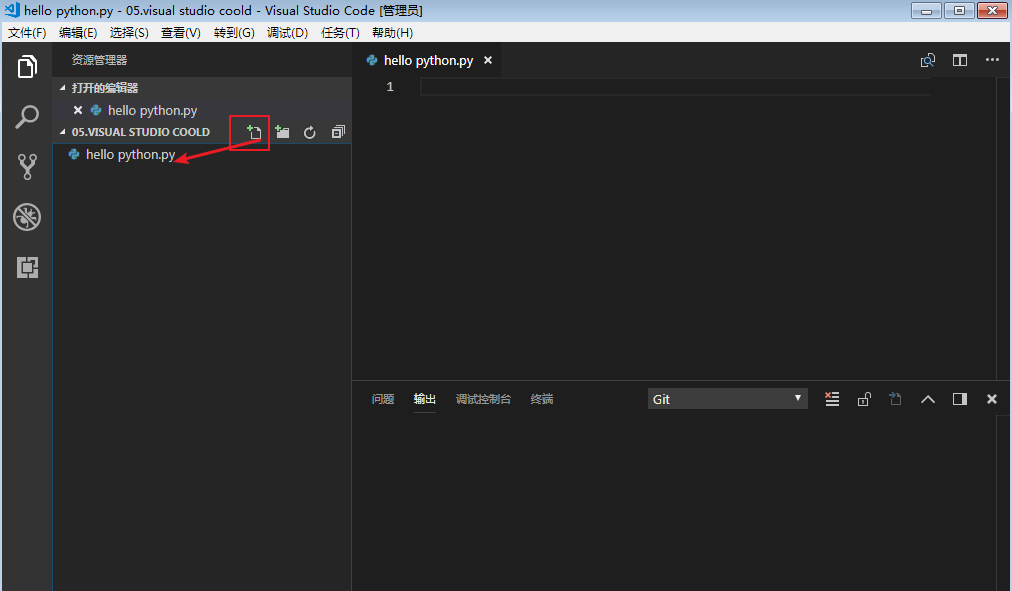
新建文件名小加号,输入hello Python.py
------------------------------------------------------------------------------------------------
三种在Python运行环境
第一种模式:1.Python jupyter Version
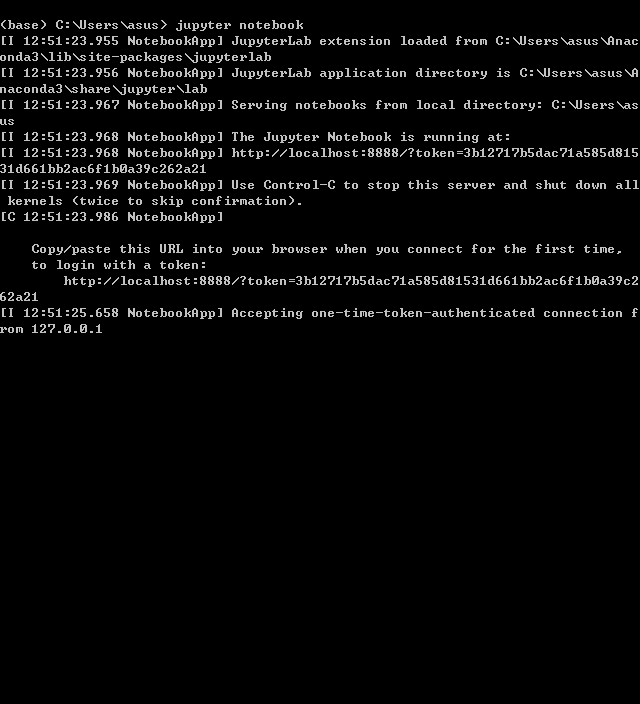
在Anaconda命令行输入:jupyter notebook出现以下显示
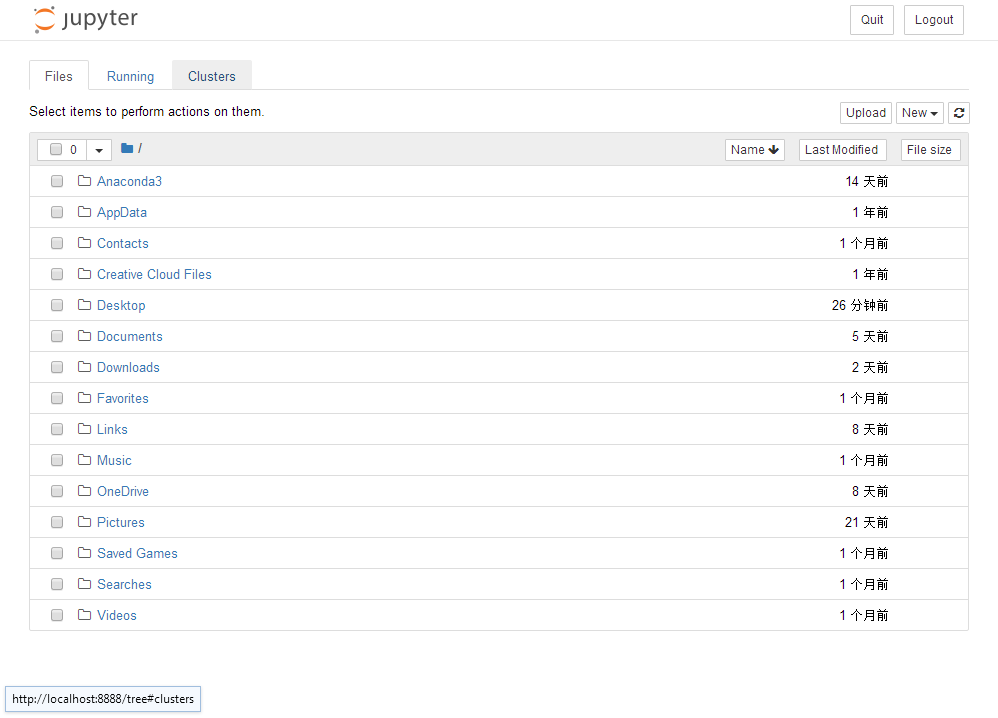
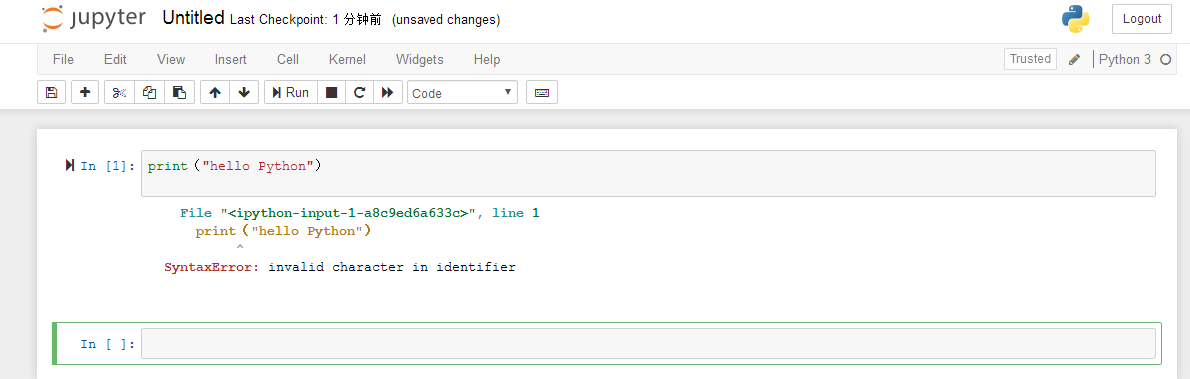
在自动打开jupyter 网址:http://jupyter.org/try,在这里新建文件项目改为python3
第二种模式:REPL模式
在IDE里面写程序
第三种:IDE集成开发环境PYcharm
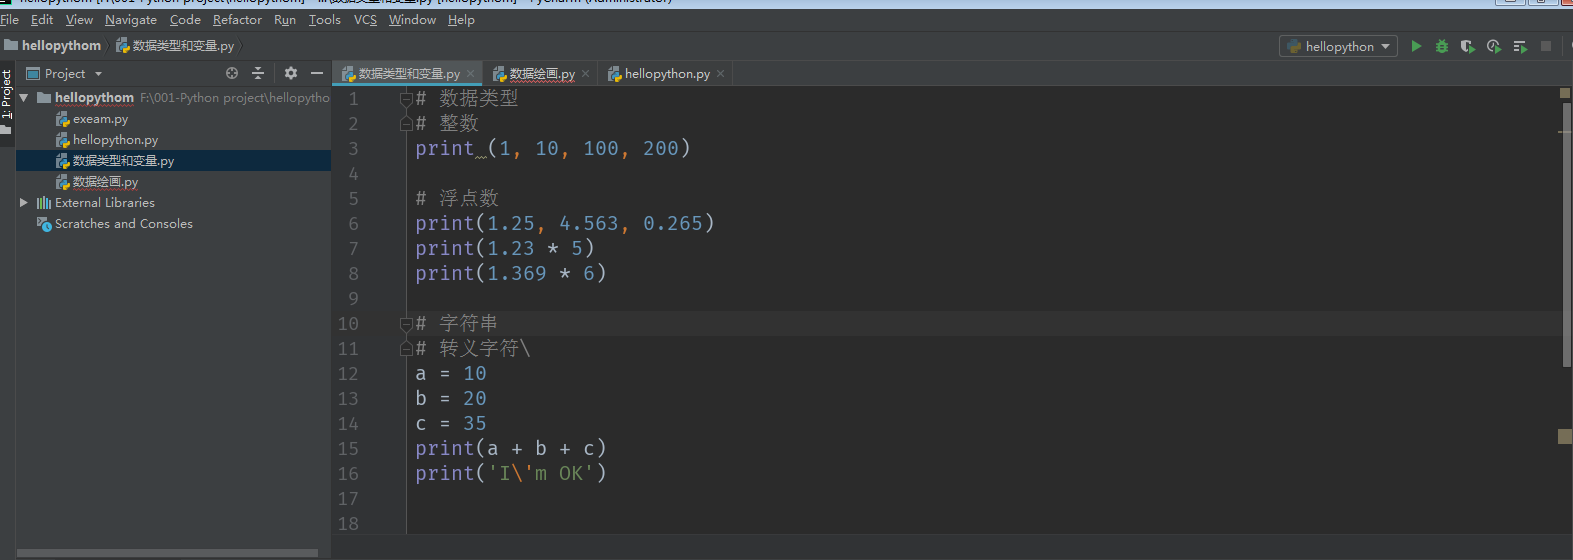
更改转义字符:Ctrl+R 把\改为//
格式化程序ctrl+alt+L对齐代码
复制一行:ctrl+D
另起一行:\r\n =在文件里面新起一行
str-浮点数
int-整数
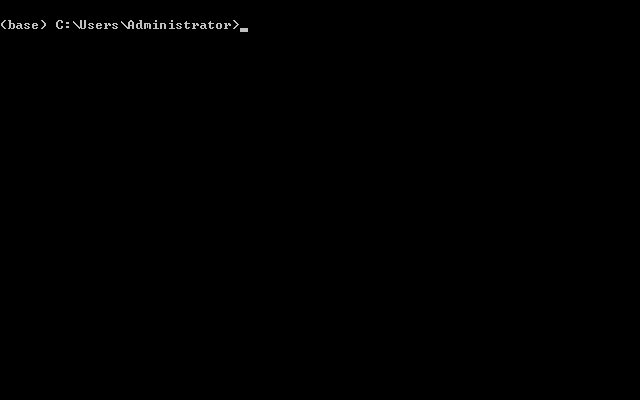
(模拟用户进行调试)假设我们已经将程序交给了用户,用户先打开Anaconda,找到对应的python 程序 在Anaconda prompt 中输入 python+对应的python程序,这样做相当于运行了这个程序,如何用户想要对python程序 进行对应的更改,用户应在Anaconda prompt 中输入type+对应的python 程序,即我们可以模拟用户进行调试
------------------------------------------------------------------------------------------------
END